If you in Minecraft, want to check easy which recipe conflict with eachother. Then there is a very easy way to find these recipe conflicts.
Sometimes smelting recipes can conflict, other times it is crafting recipes. Trying to find these manually would take a long time. Lucky for us there is a easy way!
Once the command have been used, the following will be shown in chat. Now wait.
3:
Once it is done you should see the “Conflict testing completed”:
4:
Now go to the modpack folder. And find the “logs” folder. It is located the same place where you find the “mods”, “config”, “script” folders:
5:
Now open the crafttweaker.log config file, and scroll down. It will now mentions which recipes conflict eachother. And you can now easy find out which recipes you have to edit/fix/tweak manually.
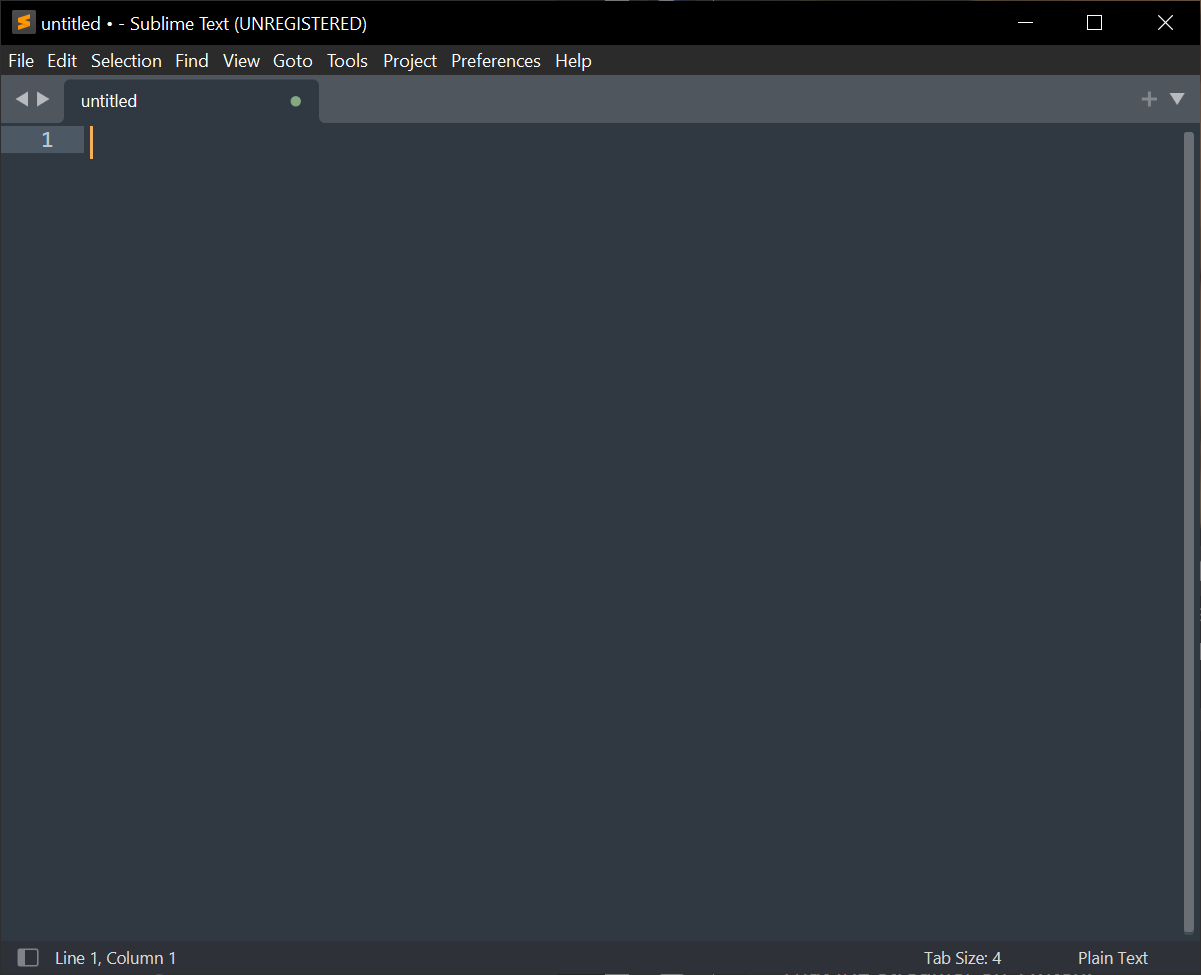
In this small guide, i will show you how to search within a entire project in Sublime Text. This function/feature allows you to look for a text in the whole project. Which makes it a lot easier to find what you are looking for.
First open the whole project in Sublime Text (Open folder).
(You can click on the pictures, if you want to see them in a bigger window)
1: Now press “Ctrl + Shift + F”.2: You should now see this menu. And can write in “find” what you are looking for. In my case i will write “helmet” and click the “Find” button.3: It will now search the whole project folder.4: In my case, i would like to find the file here. So i “Double click” with my mouse on it.5: It will now open the file, that contains the text i wanted.
Hopefully this small tip/tricks guide to SublimeText helped you. I use it a lot in my Minecraft modpack making, as it can be rather hectic with a lot of text files.
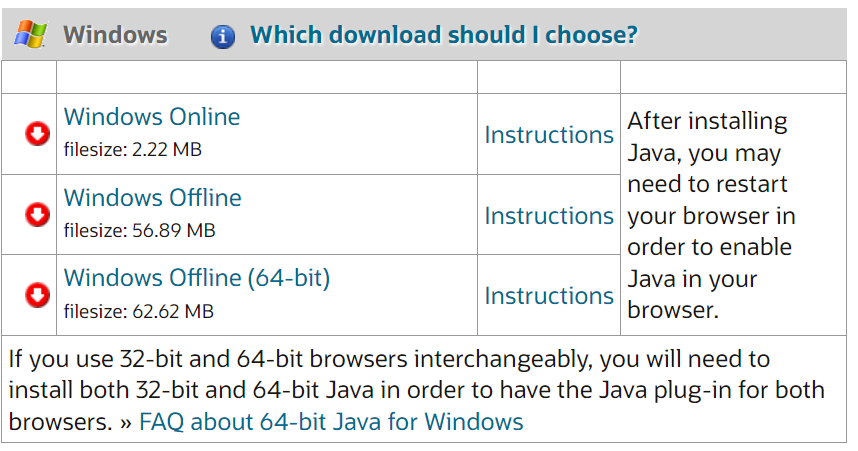
If you want to use above 1.5 gb ram in Minecraft. You have to make sure you have 64 bit version of Java. If you cant go above 1.5gb ram, it means you are most likely using 32bit version of java. To use 64 bit java, you need to have a 64 bit version of your OS installed (Windows)
Atleast 4gb ram is recommended for Minecraft modpacks. Some packs require a lot more.
First lets remove the one you currently have installed.
1: Go to Apps and Functions in Windows, and find Java.
Click on “Remove” and follow the instructions to remove it.
This guide shows how to install packages in SublimeText, that can hightlight scripts for Minecraft modpack making. Like making scripts for recipes etc using CraftTweaker.
In this guide, i will show you how to setup a whitelist on a Minecraft server. A whitelist, is a list of Minecraft usernames that is allowed to access your server. Any user that is not on this list, can’t login even if they have the IP to join the server.
Using a whitelist is always recommended when setting up a private server, where you only want your friends, and the poeple you want to join, to also be able to join. And not get any griefers or anyone you don’t know to access the server.
You can use these commands in the console of the server. But i will do it ingame.
First, make sure you are “opped” on the server, if you login. If you do this in the console on the server then you don’t need to op you first.
Login to your server.
Now do the following:
First i recommend adding the players you want on. For that your need their Minecraft usernames.
1:
Use the command:
/whitelist add <username>
In the example i do /whitelist add kehaan
Now keep adding the players you want to be able to access the server.
As i have got some messages, with questions on how to update my minecraft modpacks on Curseforge, like Pokehaan Craft, Farming Valley etc, i decided to make a small guide.
1: Go to the “My Modpacks” section on Curseforge app.
2: Hover the mouse over the modpack and click on the small “arrow” next to “Play”. This should update the pack automatic.
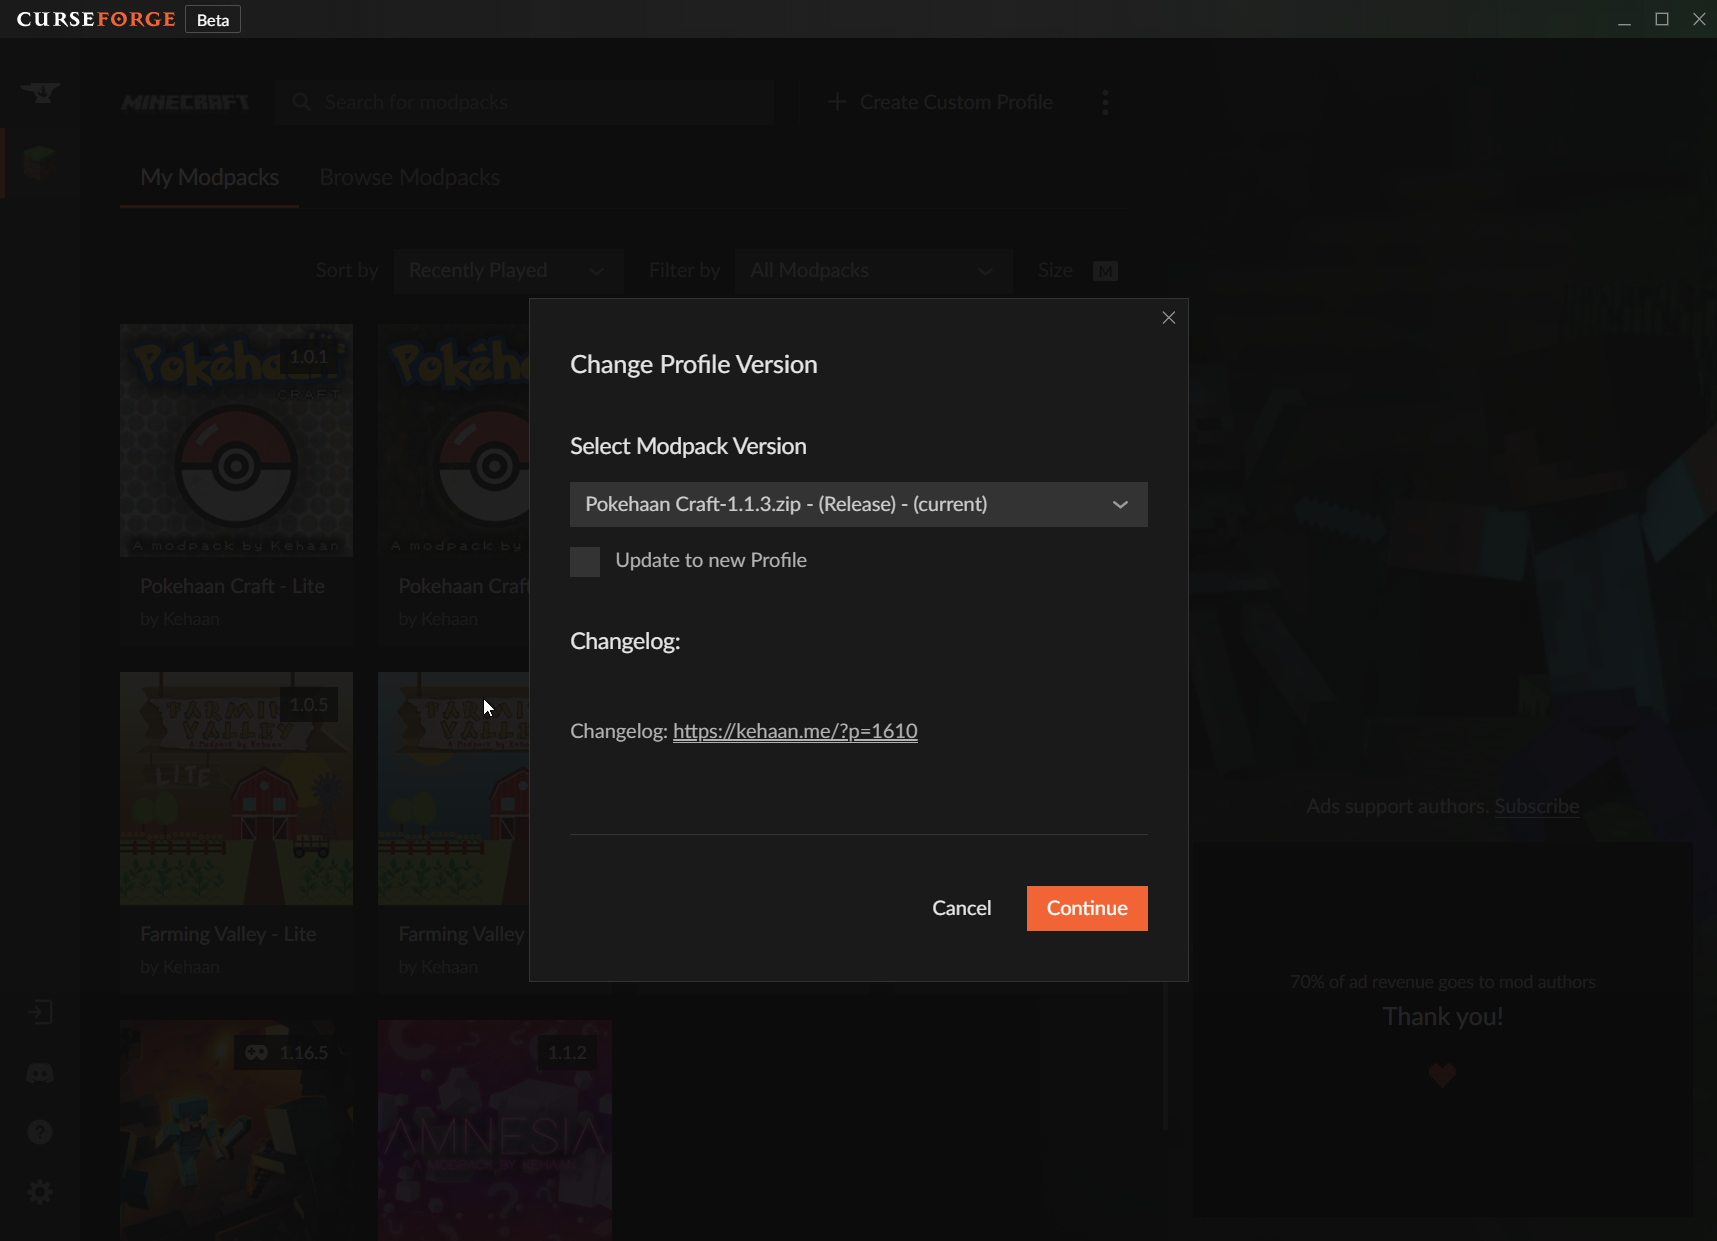
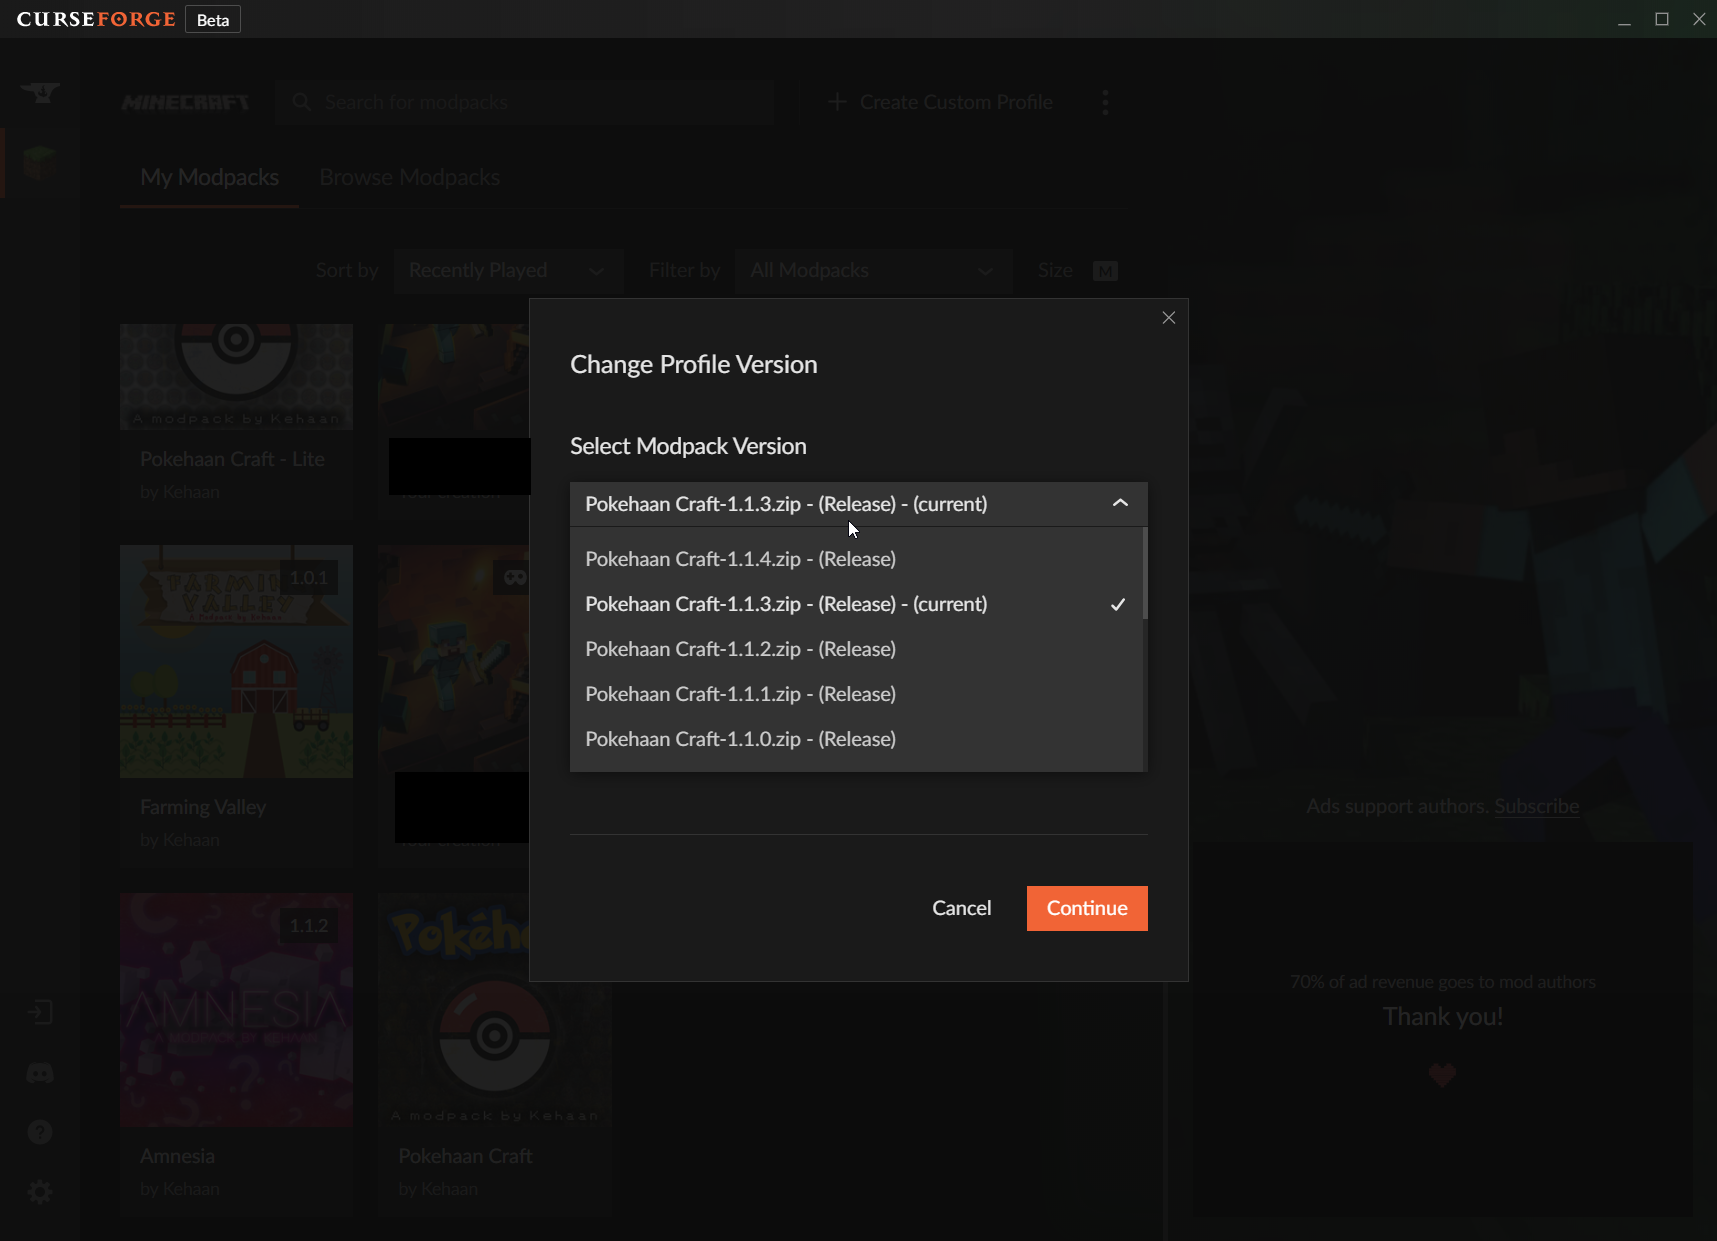
3: Else it will open this: Now click on the small arrow at the “Select Modpack Version”
4: You should now see all the different versions to the modpack. Now click on the newest one which is the top one, and click “Continue”.
5: The launcher will now begin downloading the newst version, once done you can click play.
This guide will show you how to change the season lenght on servers, but also on singleplayer.
By default:
1 Season = 30 days in singleplayer
1 Season = 365 days in Multiplayer (as days passes while no one is on the server)
However if you want to change this on a singleplayer/server, you can do the following.
(If on server, skip to step 2)
1: Open the Twitch launcher. Right click on the pack under “mods” and “My modpacks”. Then click “Open folder”.
2: Open the “config” folder.
3: Find the file called “harvestfestival.cfg” and open it. I use Sublime Text to edit config files, but you can also use Notepad++ or even just notepad.
4a: If ýou want to change server, find the line:
I:"Dedicated Server > Days per season"=365
And change 365 to whatever number you want. Then save the file, upload the file to the server, if not already done so, and start it. You need to have the server turned off, before doing this.
4b: If you want to change it in singleplayer, find the line:
I:"Integrated Server > Days per season"=30
Make sure the game/pack is closed before editing it. Now change the number 30, to what you want, and save the file. Then start the pack, and it should have changed.
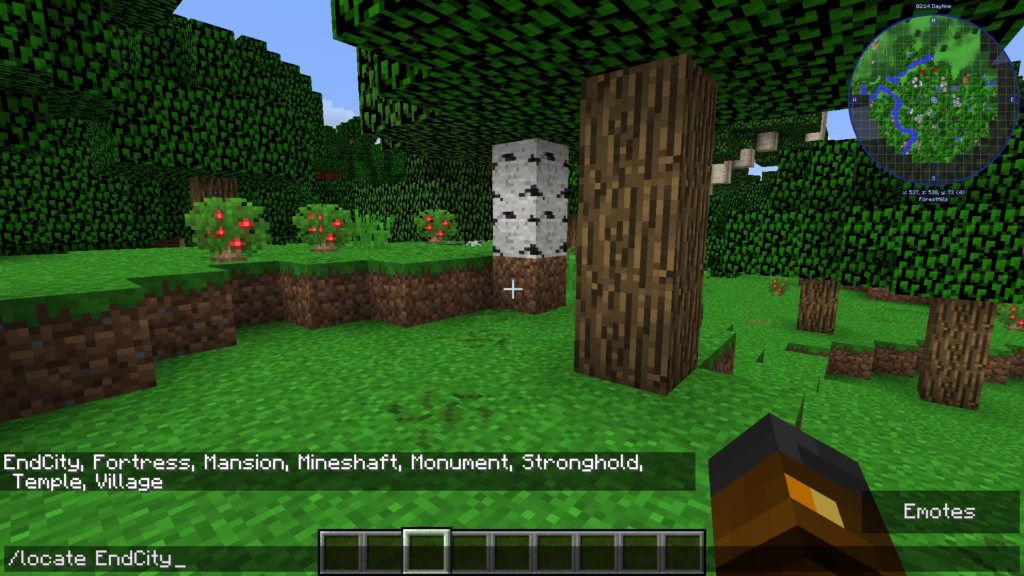
In MineCraft 1.11, a new “locate” command was added. This command shows the coordinates of the closest EndCity, Fortress, Mansion, Mineshaft, Monument, Stronghold, Temple and village or other special buildings/structures in newer versions of Minecraft.
All you have to do is use the following command:
/locate (AND Then use TAB)
You can then use “tab” and it shows the different arguments you can use. Or you can just write the argument. Like
/locate EndCity
Which will show the nearest EndCity
In newer versions there is also a Buried_Treasure, EndCity, Fortress, Mansion, Mineshaft, Monument, Ocean_Ruin, Shipwreck, Stronghold, Desert_Pyramid, Igloo, Jungle_Pyramid, Swamp_Hut, Village and Pillager_Out
So best advice would be to write /locate TAB, and then use the tab button, to see which kind of arguments you can use in the version of Minecraft that you plays.