In this guide, i will show you how to setup a whitelist on a Minecraft server. A whitelist, is a list of Minecraft usernames that is allowed to access your server. Any user that is not on this list, can’t login even if they have the IP to join the server.
Using a whitelist is always recommended when setting up a private server, where you only want your friends, and the poeple you want to join, to also be able to join. And not get any griefers or anyone you don’t know to access the server.
You can use these commands in the console of the server. But i will do it ingame.
First, make sure you are “opped” on the server, if you login. If you do this in the console on the server then you don’t need to op you first.
Login to your server.
Now do the following:
First i recommend adding the players you want on. For that your need their Minecraft usernames.
1:
Use the command:
/whitelist add <username>
In the example i do /whitelist add kehaan
Now keep adding the players you want to be able to access the server.

2:
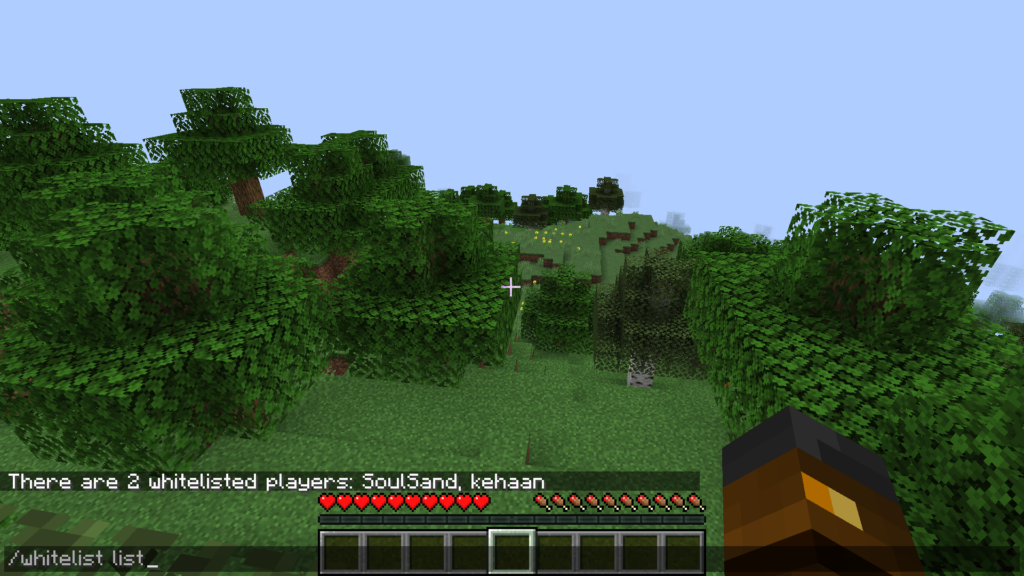
Once done, check the list by using the command
/whitelist list
This command shows you the users that currently is on the list.
3:
Now do the following command
/whitelist reload
This commands, reloads the list. If you add more usernames later on. You need to add the users, and then do reload command. Else it will use the “old” list (Or until the server have restarted)

4:
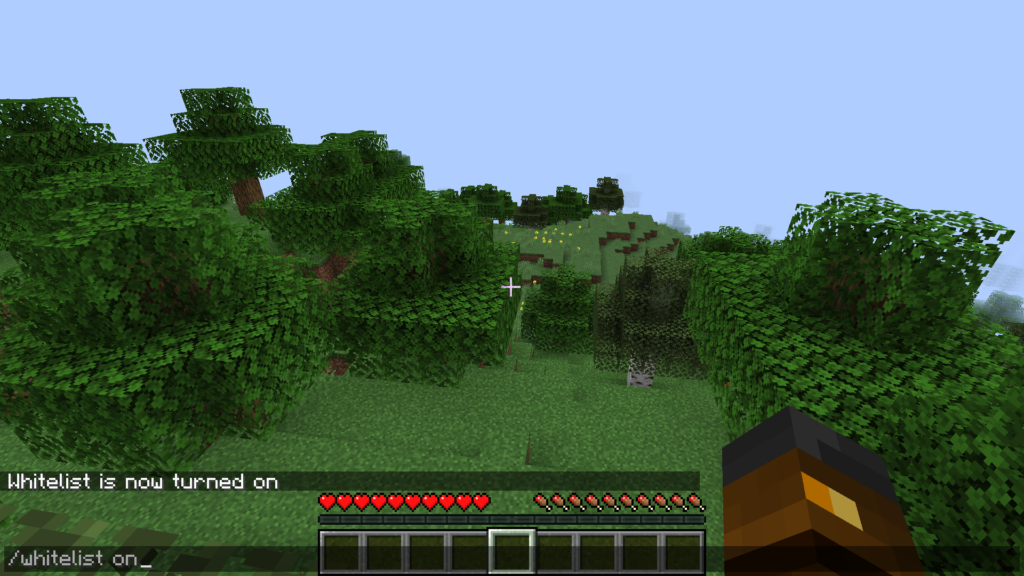
Now it is time to turn on the whitelist.
Use the command:
/whitelist on
This commands turns on the list. Now anyone that is not on the list, wont be able to login to the server.
And that’s about it. Now you have a whitelist on your server. That makes sure if the user is not on the list, then they can’t join.
Extra:
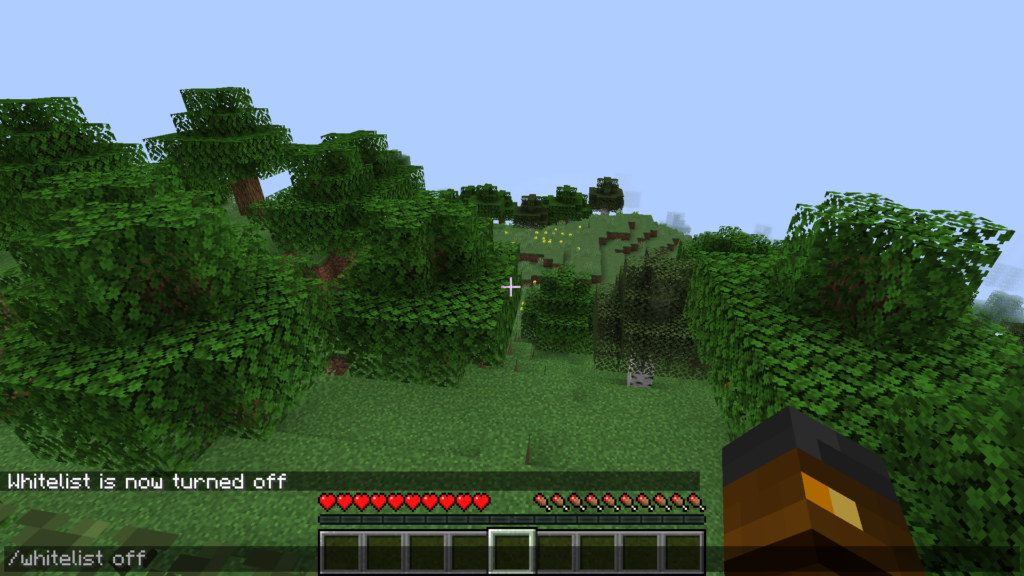
The command:
/whitelist off
Turns off the whitelist
And if you want to remove someone from the list. You need to use this command:
/whitelist remove <name>
(Example /whitelist remove kehaan)
After you remove someone, be sure to use the command /whitelist reload
Else they are able to login still.
